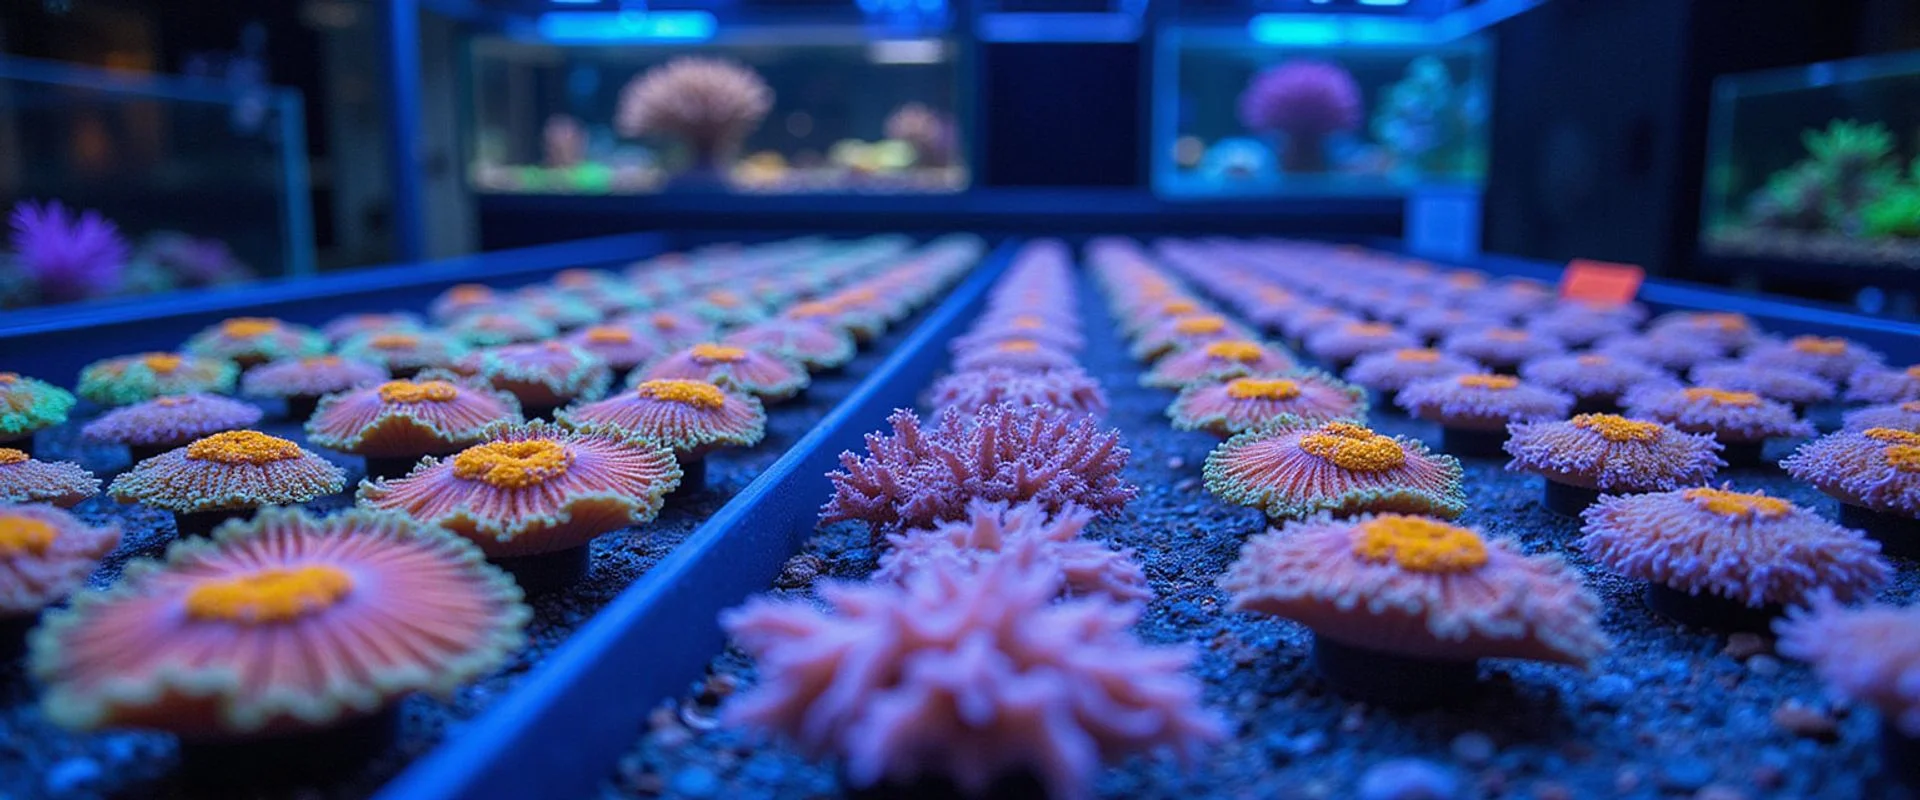
Acclimating New Corals — The Dip and Drip Method
Why every new coral gets dipped before it touches your tank, plus the drip acclimation that protects against parameter shock.
We see it all the time. Hobbyists skip the quarantine process and end up fighting a tank-crashing pest infestation months later.
This single mistake is completely avoidable.
Proper coral dip and acclimation is the dividing line between a thriving reef and a complete restart.
We will show you the exact coral dip method necessary to protect your display tank. The entire process takes just half an hour.
Why dip
Dipping removes destructive microscopic pests before they can infest your main display tank. Corals harbor tiny hitchhikers that reproduce rapidly and destroy entire reef colonies.
We always assume every new frag is carrying something harmful. Montipora-eating nudibranchs, for example, hatch and reach sexual maturity in just a few days. This rapid reproduction rate means a single unseen egg cluster can quickly overwhelm a healthy tank.
A thorough chemical bath stuns or kills these threats instantly. You can then physically wash them away before the coral enters your system.
- Aiptasia anemones: Small anemones that spread rapidly and sting neighboring corals.
- Acro red bugs: Tiny crustaceans that devastate Acropora species by feeding on their tissue.
- Monti-eating nudibranchs: Fast-breeding pests that eat through Montipora colonies almost invisibly.
- Acropora-eating flatworms (AEFW): Flatworms that suck the tissue right off the coral skeleton.
- Polyp-eating snails: Predators smaller than a grain of rice that hide near the coral base.
The dip products
We rely on three specific chemical baths to strip pests from coral tissue safely. The right product depends on whether you are treating hardy SPS corals or delicate fleshy species.
These industry standards are readily available in the US and highly effective. Product formulations change occasionally, so verifying the active ingredients is an important step.
Our team uses a specific rotation depending on the sensitivity of the coral. The table below outlines the best use cases for each standard option.
| Dip Product | Best Used For | Key Details & US Availability |
|---|---|---|
| BioAdvanced (Formerly Bayer) | Hardy SPS (Acropora, Montipora) | The famous “Bayer Advanced” US lawn product is now rebranded as BioAdvanced Complete Insect Killer. The active ingredient, imidacloprid, kills pests without harming most corals. |
| Coral Rx | General purpose, LPS, Softies | A plant-extract-based solution that is less aggressive than agricultural insecticides. You mix this standard pet shop dip according to the bottle directions. |
| Two Little Fishies ReVive | Sensitive species (Chalices, Euphyllia) | The mildest option available. This is ideal for fleshy corals that retract heavily and might stress in stronger chemical baths. |
The dip process
The dipping process involves mixing your chosen solution, agitating the water, and rinsing the coral thoroughly. Proper coral dip and acclimation requires strict timing and temperature control to prevent tissue damage.
We break this down into five distinct steps.
Each phase requires attention to detail.
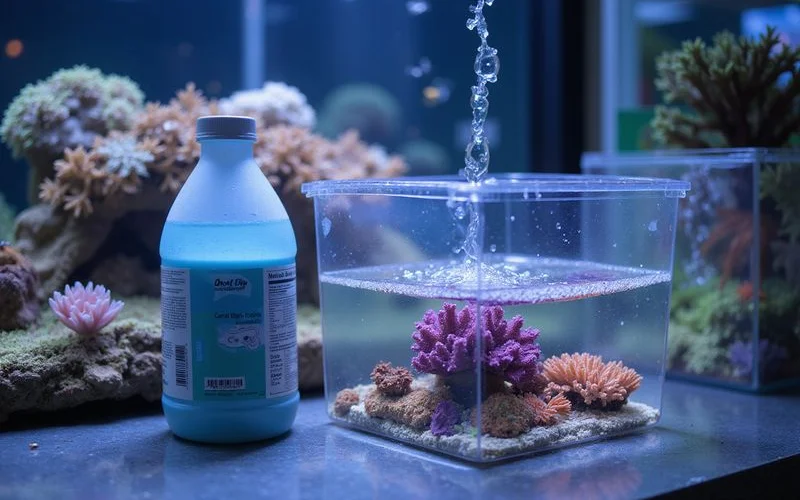
Step 1: Mix the dip
Mix the solution in a clean plastic container using exactly one gallon of saltwater from your display tank. This ensures the pH and alkalinity match what the coral expects.
We strongly recommend placing this container inside a larger bowl of warm water or floating it in your sump. Dipping containers quickly lose heat in a 72-degree room. A sudden temperature drop will cause severe thermal shock to the coral.
Add the dip per the product directions. BioAdvanced requires 5 to 10 mL per 1 gallon of saltwater.
Step 2: Add air stone
Drop a basic air stone with a hose and air pump into the container. The continuous bubbling provides crucial agitation.
This movement physically knocks stunned pests loose from the coral tissue.
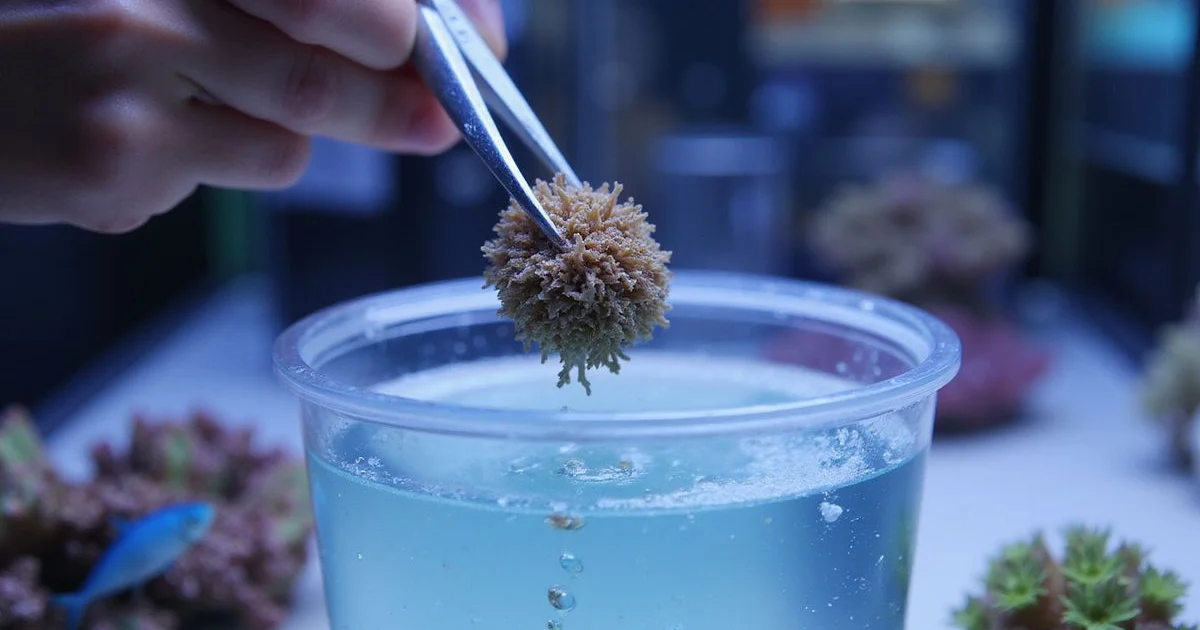
Step 3: Submerge the coral
Place the coral into the prepared bath. You must watch a clock closely during this phase.
Standard dip times vary by product:
- BioAdvanced: 5 to 15 minutes
- Coral Rx: 5 to 10 minutes
- ReVive: 5 to 10 minutes
Step 4: Inspect and rinse
Transfer the coral to a second clean container of display tank water after the timer finishes. We gently shake the frag underwater to dislodge any remaining debris.
Take a close look at the bottom of the container. Inspect for fallen-off pests, snails, eggs, or anything that was not there before.
If possible, cut the frag plug off entirely and throw it away. Ceramic plugs are notorious for hiding microscopic eggs that survive the chemical bath. Repeat the entire dip process if you spot any surviving pests.
Step 5: Rinse again
Prepare a third container of clean display water for a final rinse. This guarantees absolutely no chemical residue transfers into your main aquarium.
The drip process
Drip acclimation equalizes the water chemistry between the shipping bag and your aquarium. This slow introduction prevents shock from sudden swings in alkalinity or salinity.
We consider this step mandatory. Coral parameter shock matters a bit less than fish parameter shock, but it still triggers rapid tissue necrosis.
A steady drip gives the coral biochemistry time to adapt. Here is the exact method:
- Place the rinsed coral in a small acclimation container filled with display tank water.
- Run a slow drip from your display using standard airline tubing.
- Adjust the flow to 1 to 2 drops per second.
- Aim to double the total water volume over 30 to 60 minutes.
Placement
Acclimating new corals requires placing them in a low-light, low-flow area of your tank for the first week. Sudden exposure to high-intensity LEDs will bleach and kill even hardy frags.
We always start new additions on the sand bed. SPS corals eventually need intense lighting between 200 and 400 PAR. They must begin their acclimation down at roughly 100 PAR to prevent light shock.
LPS and soft corals prefer a starting point around 50 PAR. Move them slowly using this schedule:
- Keep the coral in a shaded or bottom area for the first 5 to 7 days.
- Watch for positive signs like full opening, solid polyp extension, and rich color.
- Move the frag up a few inches each week.
- Secure it in its target spot over 2 to 4 weeks if it responds well.
What to watch for in the days after
Monitor your new additions closely for the first 48 hours to catch signs of parameter shock or lingering pests. Tissue loss or prolonged retraction requires immediate action.
We look for three specific warning signs. Catching these issues early often saves the colony.
Many problems originate from either lighting stress or incorrect water chemistry.
- Polyps not opening after 48 hours: This usually indicates parameter shock or excessive light. Check your alkalinity and salinity immediately.
- Tissue receding: Rapid Tissue Necrosis (RTN) or Slow Tissue Necrosis (STN) is highly common in SPS corals. Move the frag to a lower flow spot and verify your water parameters.
- White stringy stuff: This is often pest-related, such as chalice-eating polyps or flatworms. Pull the coral out and re-dip it immediately.
You can learn more about identifying specific threats by reviewing our guide to common coral pests and diseases. Understanding specific light targets is also critical, so check our coral lighting requirements to find the exact PAR per coral type.
If you are also adding livestock, read up on drip acclimating saltwater fish, as that requires a slightly different process.
Pro Tip: Our coral stock is strictly dipped and observed in-store before any sale. Every customer leaves with the right supplies. This guaranteed preparation gives your new additions a massive head start.
We gladly provide complete dip and drip kits upon request. Mastering coral dip and acclimation takes a little extra time, but it ensures your reef thrives for years.