Acclimating Saltwater Fish — The Drip Method
Step-by-step drip acclimation for marine fish. Why it matters, the gear, and the 60 to 90 minute timeline.
You know how it feels to bring home a new saltwater fish. The excitement is high, but so are the stakes for getting the introduction right.
This is the single most critical moment for your new fish’s long-term health.
Unlike hardier freshwater species, saltwater fish are extremely sensitive to rapid changes in water chemistry. The float-and-plop method simply doesn’t work. It can, and often does, lead to osmotic shock, which damages gills and internal organs. Our team has seen the unfortunate results of rushed introductions too many times.
Here, we’ll walk through the exact drip acclimating saltwater fish process we use in our shop. We’ll cover why it’s essential, the gear you’ll need, and the step-by-step method that ensures a safe transition from our tanks to yours.
Why drip, not float
The water in the transport bag is fundamentally different from your aquarium’s water, and drip acclimation is the only way to safely bridge the gap. Sudden changes cause shock, but a slow, controlled drip gives a fish’s body time to adjust cellularly.
There are three main parameters at play:
- Salinity: The specific gravity in a transport bag can easily shift by 0.001 to 0.003 during travel. For context, many local fish stores keep their systems at a lower salinity, around 1.019, while a reef tank is typically stable at 1.025. A sudden jump of that magnitude is a major stressor.
- pH: As a fish respires in a sealed bag, it releases CO2, which builds up and lowers the water’s pH. Once you open the bag, that CO2 rapidly escapes. This causes the pH to swing upward, converting harmless ammonium into highly toxic ammonia. The drip process begins immediately to dilute this rising ammonia.
- Temperature: Even a difference of 2°F can stress a fish. Drip acclimation allows the water temperatures to equalize gradually and safely.
What you need
Having the right tools ready makes the process smooth and stress-free. Our team relies on a few key items to get the job done right every time.
Here’s your checklist:
- Plastic container or 5-gallon bucket: This must be dedicated to aquarium use only. Any soap residue can be lethal to fish.
- Airline tubing with a control valve: A dedicated drip-acclimation kit, like the AccuDrip from Innovative Marine, makes controlling the flow rate very easy.
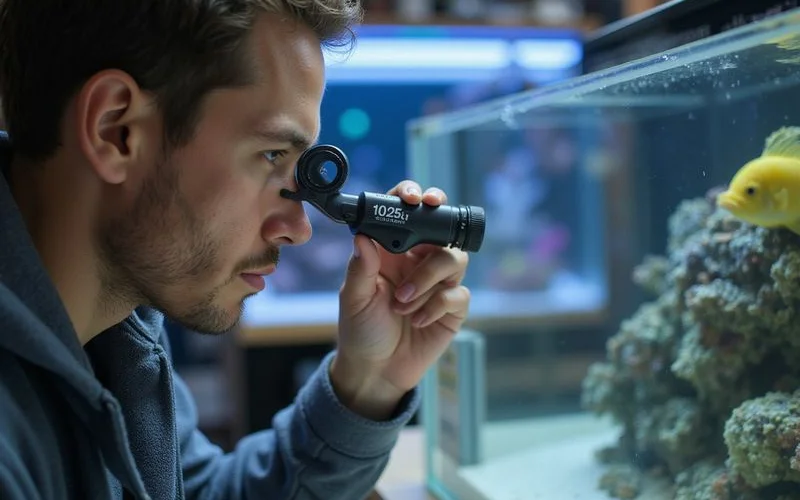
- Refractometer: An accurate, calibrated refractometer is non-negotiable for saltwater. We recommend a quality optical one over digital models for reliability.
- Small Heater: If your room is cooler than your tank, you’ll need a small, reliable heater. Placing a small heater like a 50-watt Eheim Jager directly in the acclimation bucket is a pro move to maintain stable temperature.
- Net: Sized appropriately for the fish you are acclimating.
We send every customer home with a basic drip kit, free of charge, when they purchase a fish from us.
The process
This method should take between 60 and 90 minutes. It’s a patient process, but it’s the best insurance you can give your new fish for a long, healthy life in your aquarium.
Step 1: Float the bag for 15 minutes
Place the sealed bag in your tank or sump. This step is only for equalizing the water temperature inside the bag with your system’s temperature. Do not open the bag yet.
Step 2: Open and pour into container
Cut the bag open and gently pour the fish and all the bag water into your clean acclimation container. Ensure the container has enough volume to at least double the amount of water from the bag.
Step 3: Test bag water salinity
Use your calibrated refractometer to test the specific gravity of the water in the container. Note the reading. Now, test your tank water. A typical reef aquarium is kept between 1.025 and 1.026 SG. It’s common for store water to be lower, so don’t be alarmed if you see a significant difference. This is exactly what the drip method corrects.
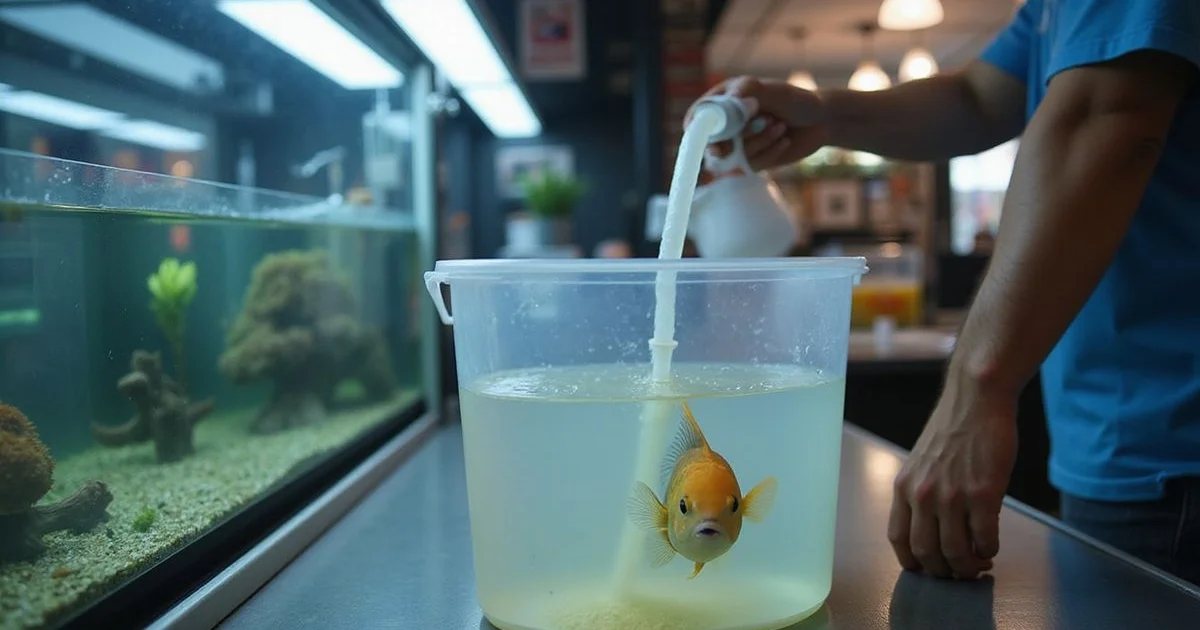
Step 4: Start the drip
Run the airline tubing from your main tank to the acclimation container, securing it so it doesn’t fall out. Start a siphon and use the control valve to set a drip rate of about 2 to 3 drops per second. It’s always better to go a little too slow than too fast.
Step 5: Wait
Let the drip run for 60 to 90 minutes. This is the most important part of the marine fish acclimation process. Don’t rush it. This slow introduction of your tank’s water allows the fish’s body to adjust without shock.
Step 6: Re-test salinity
After the time is up, test the salinity in the acclimation container again. Your goal is for the reading to be within 0.001 SG of your main tank’s salinity. If it’s still off by more than that, let it drip for another 30 minutes and test again.
Step 7: Net the fish into the tank
Gently net the fish out of the container and release it into your aquarium. Do not pour the water from the acclimation container into your tank. That water contains waste from transport and could introduce unwanted parasites, ammonia, or copper residue from other systems.
Discard all the acclimation water down a drain.
Step 8: Lights off for 12 to 24 hours
Turn off your aquarium lights for the rest of the day and possibly the next. This reduces stress significantly and allows the new fish to explore and find a safe hiding spot without being bothered by tank mates.
We also recommend not feeding for the first 24 hours. A new fish is focused on safety and territory, not food.
Common mistakes
Our team sees hobbyists make a few common, and preventable, errors. Avoiding these will dramatically increase your success rate when drip acclimating saltwater fish.
- Skipping the refractometer check. This is the most common mistake. If you don’t measure the salinity at the beginning and end, you are only guessing that the water parameters have equalized.
- Dripping too fast. A steady stream is too fast and defeats the purpose. The entire point of the saltwater drip method is gradual change. Aim for that 2-3 drops per second rate.
- Adding bag water to the tank. This is a critical error. The transport water is full of concentrated waste and potentially harmful bacteria or parasites. Always net the fish and discard the water.
- Leaving the lights on after introduction. Bright lights can be incredibly stressful for a new arrival. Keeping the lights off helps prevent bullying from established fish and lets the newcomer settle in peacefully.
After acclimation
Observe the new fish over the next 24 hours. It is perfectly normal for it to hide, display pale colors, or refuse food on the first day. This is standard settling-in behavior.
If, after 48 hours, the fish is still showing signs of extreme stress like rapid breathing, scratching against rocks (“flashing”), or has visible parasites, it may have an underlying issue. You should move it to a hospital tank for treatment. See our guide on common saltwater fish diseases for a detailed action plan.
To learn about the extensive health checks we perform before any fish is available for sale, you can read about our 2-week quarantine protocol. And for corals, which require a different procedure, check our guide on acclimating new corals.
Every fish from our saltwater stock is sent home with a drip kit and these instructions, ensuring you have everything you need for a successful introduction.